Mastering TSA PreCheck: 5 Essential Tips for Faster Security
Navigating airport security can often feel like a daunting task, but with TSA PreCheck, the process becomes significantly smoother. For anyone looking to master TSA PreCheck and streamline their travel experience in 2026, understanding the nuances of this program is key. This service allows eligible travelers to enjoy expedited screening, meaning less time in line and fewer hassles before their flight. Imagine breezing past long queues, keeping your shoes on, and not having to remove laptops from your bag—these are just some of the benefits that make TSA PreCheck an invaluable asset for frequent flyers and occasional travelers alike. Our essential TSA PreCheck tips will help you maximize these advantages and ensure a stress-free start to your journey.
The landscape of air travel is constantly evolving, and staying ahead means being prepared. By 2026, the demand for efficient airport processes is only expected to grow, making programs like TSA PreCheck even more critical. This guide is designed to provide you with actionable advice, from the initial application stages to the actual day of travel, ensuring you leverage every aspect of your membership. We’ll delve into five crucial areas that will help you not just use, but truly master TSA PreCheck, transforming your airport security experience from a chore into a seamless part of your trip planning. Get ready to discover how simple and quick airport security can truly be.
Understanding the Application Process and Renewal
Getting started with TSA PreCheck involves a straightforward application process, but knowing the details can save you time and potential headaches. The journey begins with an online application where you provide basic personal information. After this initial step, you’ll need to schedule an in-person appointment at an enrollment center. During this appointment, a background check is conducted, and your fingerprints are taken. It’s crucial to bring the required identification documents, usually a valid passport or a driver’s license along with proof of citizenship. Many applicants overlook the importance of verifying their documents beforehand, which can lead to delays or even needing to reschedule their appointment. Taking the time to double-check these requirements will ensure a smooth enrollment experience.
Once approved, you’ll receive a Known Traveler Number (KTN), which is your golden ticket to expedited screening. This KTN is valid for five years, after which you’ll need to renew your membership. The renewal process is often simpler than the initial application, with many members being able to complete it online without another in-person visit. However, it’s wise to initiate the renewal well before your current membership expires to avoid any lapse in benefits. Setting a reminder a few months in advance can prevent any last-minute scramble. Keeping your contact information updated with the TSA is also important, as they will send renewal notifications to your registered email or mailing address. A proactive approach to both application and renewal is one of the top TSA PreCheck tips for maintaining continuous access to its benefits.
Maximizing Your KTN: Correctly Adding It to Bookings
Having a KTN is only half the battle; the other half is ensuring it’s correctly applied to all your flight reservations. Many travelers mistakenly believe that once they have a KTN, it automatically links to their airline profiles. This is not always the case. For every flight you book, you must manually enter your KTN into the designated field during the reservation process. This field is typically labeled as ‘Known Traveler Number,’ ‘KTN,’ ‘TSA PreCheck,’ or ‘DHS Redress Number.’ The exact wording can vary slightly depending on the airline’s website or booking platform, so it’s important to pay close attention.
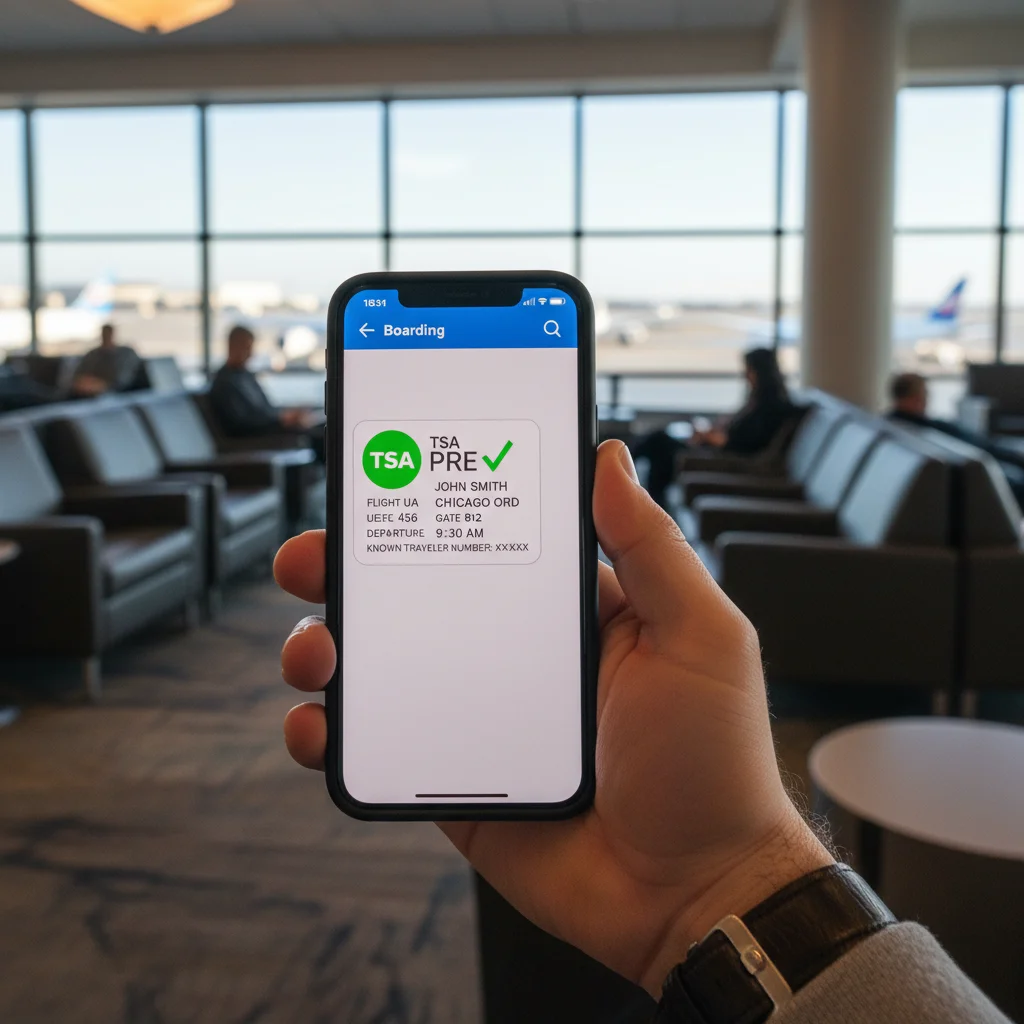
Even if you’ve added your KTN to your frequent flyer profile, it’s still good practice to verify its presence on each individual booking. After completing your reservation, always check your confirmation email or log back into your airline account to ensure the TSA PreCheck indicator is visible on your boarding pass. If it’s not there, you might be able to add it by managing your booking online or by calling the airline directly. Sometimes, a mismatch between the name on your flight reservation and the name associated with your KTN can prevent the benefit from applying. Ensure that the name on your ticket exactly matches the name you used during your TSA PreCheck application, including middle names and suffixes. This meticulous attention to detail is a critical component of mastering TSA PreCheck for every journey.
Understanding Eligible Airlines and Airports
While TSA PreCheck is widely available, it’s not universal across all airlines or airports. To fully master TSA PreCheck, you need to be aware of which carriers and locations participate in the program. The Transportation Security Administration (TSA) maintains an updated list of participating airlines on their official website. Before booking your flight, especially with a lesser-known or international carrier, it’s always a good idea to consult this list. Flying with a non-participating airline means you won’t be able to utilize your PreCheck benefits, even if your departure airport has PreCheck lanes. This can be a common point of confusion for travelers who assume the program is active with every airline.
Similarly, not every airport has dedicated TSA PreCheck lanes at every checkpoint. Larger international airports typically offer multiple PreCheck lanes, but smaller regional airports might have limited availability or specific operating hours for these lanes. It’s beneficial to check the TSA website or use the MyTSA app to confirm PreCheck availability at your departure airport and terminal before you arrive. This information can help you plan your arrival time and choose the most efficient security checkpoint. For instance, knowing which terminal has a PreCheck lane can save you from unnecessary walking or even re-checking in. Being informed about eligible airlines and airports is a fundamental aspect of effectively using your TSA PreCheck membership and avoiding any surprises on travel day.
Navigating the PreCheck Lane Like a Pro
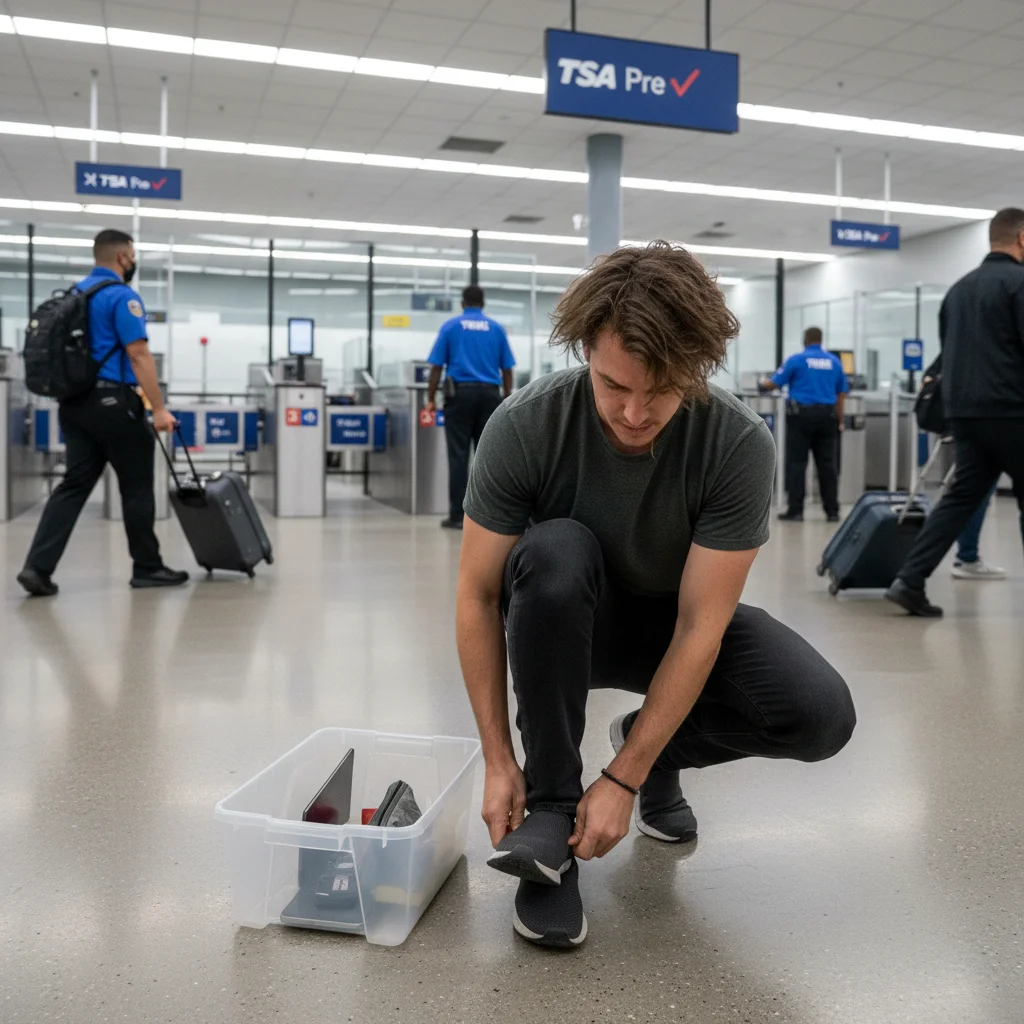
Once you’re at the airport and have your boarding pass with the TSA PreCheck indicator, knowing how to navigate the dedicated lane efficiently is the next step to mastering the system. The primary advantage of PreCheck is the minimal divestiture required. This means you generally don’t need to remove your shoes, belts, light jackets, laptops from your bag, or liquids from your carry-on. However, it’s important to remember that TSA officers always retain the right to request additional screening, so be prepared for that possibility, though it’s rare in PreCheck lanes.
Speeding Through Security
- Keep it Simple: Wear slip-on shoes if possible, as they are easy to remove if requested, though usually not necessary.
- Layer Smart: Avoid clothing with excessive metal that might trigger detectors, even in PreCheck lanes.
- Organize Your Carry-On: While laptops and liquids don’t need to be removed, having your bag well-organized can still help if a secondary inspection is required.
- Listen to Instructions: Always pay attention to the TSA officers’ instructions, as procedures can sometimes vary slightly.
- Be Ready: Have your boarding pass and ID readily available as you approach the officer at the start of the lane.
The goal is to move through the checkpoint quickly and smoothly, not just for your benefit but also for the travelers behind you. By following these simple guidelines, you contribute to the overall efficiency of the PreCheck system. Remember, even with PreCheck, arriving at the airport with ample time before your flight is always a good idea, especially during peak travel periods. This buffer allows for any unforeseen circumstances, ensuring a relaxed start to your journey.
Common Pitfalls and How to Avoid Them
Even with TSA PreCheck, travelers can encounter issues if they’re not fully informed. One of the most common pitfalls is a name mismatch between the KTN record and the flight reservation. As mentioned earlier, any discrepancy, no matter how minor, can prevent the PreCheck indicator from appearing on your boarding pass. Always double-check that your full name, including any middle names or suffixes, is identical across all your travel documents and your KTN profile. Another frequent problem arises when travelers forget to add their KTN to their booking entirely. This often happens when booking through third-party travel sites or when a family member books on your behalf. Always confirm your KTN is entered correctly before finalizing any flight purchase.
Another area where travelers can stumble is assuming PreCheck benefits extend to everyone in their party. While children 12 and under traveling with a PreCheck enrolled adult can usually use the PreCheck lane, teenagers and adults traveling with you must have their own KTN to receive the expedited screening. This is a crucial distinction, as a family traveling together might need to split up if only some members have PreCheck. Additionally, some travelers forget that while laptops can stay in bags, certain larger electronic devices or items that could obscure X-ray images might still need to be removed. Staying updated on TSA guidelines, which can occasionally be refined, is paramount. By being mindful of these common pitfalls, you can ensure your TSA PreCheck experience remains consistently smooth and hassle-free, making your travels in 2026 as efficient as possible.
Frequently Asked Questions
What is the difference between TSA PreCheck and Global Entry?
TSA PreCheck offers expedited security screening for domestic flights, allowing you to keep on shoes, belts, and light jackets, and leave laptops and liquids in bags. Global Entry includes all the benefits of TSA PreCheck, plus expedited customs screening for international arrivals into the U.S.
How long does it take to get approved for TSA PreCheck?
Most applicants receive their Known Traveler Number (KTN) within 3-5 days after their in-person appointment. However, some applications can take up to 60 days, so it’s recommended to apply well in advance of your travel dates.
Can I use TSA PreCheck if I’m flying internationally?
Yes, you can use TSA PreCheck for the domestic leg of an international itinerary. For example, if you have a connecting flight within the U.S. before flying abroad, you can use PreCheck for the domestic segment. However, it does not expedite customs upon return to the U.S.
What if the TSA PreCheck indicator doesn’t appear on my boarding pass?
First, verify that your KTN was correctly entered into your reservation and that the name on your booking exactly matches the name on your KTN profile. If issues persist, contact your airline’s customer service or the TSA directly for assistance before heading to the airport.
Is TSA PreCheck worth the cost?
For frequent travelers, especially those who fly several times a year, the time savings and reduced stress at airport security checkpoints often make the enrollment fee a worthwhile investment. Many credit cards and travel reward programs also offer reimbursement for the application fee.
Official Resources
- TSA PreCheck Official Website
- TSA PreCheck Frequently Asked Questions
- TSA What Can I Bring?
- DHS Trusted Traveler Programs Overview
Conclusion
Mastering TSA PreCheck truly transforms the airport experience from a potential source of stress into a streamlined, efficient process. By understanding the application and renewal procedures, diligently applying your KTN to every booking, and being aware of participating airlines and airports, you set yourself up for success. Navigating the PreCheck lane with confidence and avoiding common pitfalls are the final pieces of the puzzle, ensuring that your travels are as smooth as possible. These essential TSA PreCheck tips are designed to empower you, making every journey in 2026 and beyond more enjoyable.
The investment in TSA PreCheck is an investment in your peace of mind and valuable time. No more rushing to unpack and repack your bags at security; instead, you can glide through, ready for your flight. We encourage all travelers to consider these tips and fully embrace the benefits of this remarkable program. Take the next step to enhance your travel efficiency and make airport security a breeze. Your future self, relaxed and stress-free at the airport, will thank you for it.
