Cold-Weather Trail Navigation: Extend Your Hiking Season
Anúncios
Extend Your Hiking Season: 6 Practical Solutions for Cold-Weather Trail Navigation
As the days grow shorter and temperatures drop, many hikers pack away their boots, waiting for spring. However, with the right preparation and tools, you can significantly extend your hiking season, enjoying the unique beauty of winter landscapes. Mastering cold-weather trail navigation is key to safely exploring these serene, often challenging, environments. It’s not just about staying warm; it’s about knowing where you are and how to get where you’re going when familiar landmarks are hidden under snow.
Anúncios
Winter hiking offers a special kind of solitude and stunning scenery, but it also brings increased risks. Trails can become obscured, weather can change rapidly, and daylight hours are limited. This guide will walk you through six practical solutions to enhance your cold-weather trail navigation skills, helping you embrace the colder months with confidence and continue your outdoor adventures.
Mastering Digital Navigation Tools
In winter, traditional trail markers can disappear under snow, making digital navigation tools indispensable. Relying solely on physical maps and compasses, while always important as a backup, might not be enough when visibility is low or trails are completely covered. Modern GPS devices and smartphone apps offer real-time location tracking, detailed topographic maps, and the ability to pre-load routes. They can show your exact position on a map, helping you stay on course even when the path is invisible.
Before heading out, make sure your device is fully charged and consider carrying a portable power bank. Cold temperatures can drain batteries much faster than usual. Familiarize yourself with the app or device beforehand, practicing its functions in a controlled environment. Downloading offline maps is crucial, as cell service can be spotty or nonexistent in remote winter areas. This preparation ensures you have reliable guidance when you need it most, preventing disorientation in challenging conditions.
Anúncios
Essential Winter Footwear and Traction
Navigating snowy and icy trails demands specialized footwear and traction devices. Your regular hiking boots, no matter how sturdy, might not provide sufficient grip or warmth in winter conditions. Insulated, waterproof boots are fundamental for keeping your feet dry and warm, preventing frostbite and discomfort. Look for boots with good ankle support to handle uneven, hidden terrain.
Choosing the Right Traction
- Microspikes: These are excellent for icy patches and packed snow, fitting over your existing boots. They provide aggressive grip and are relatively lightweight.
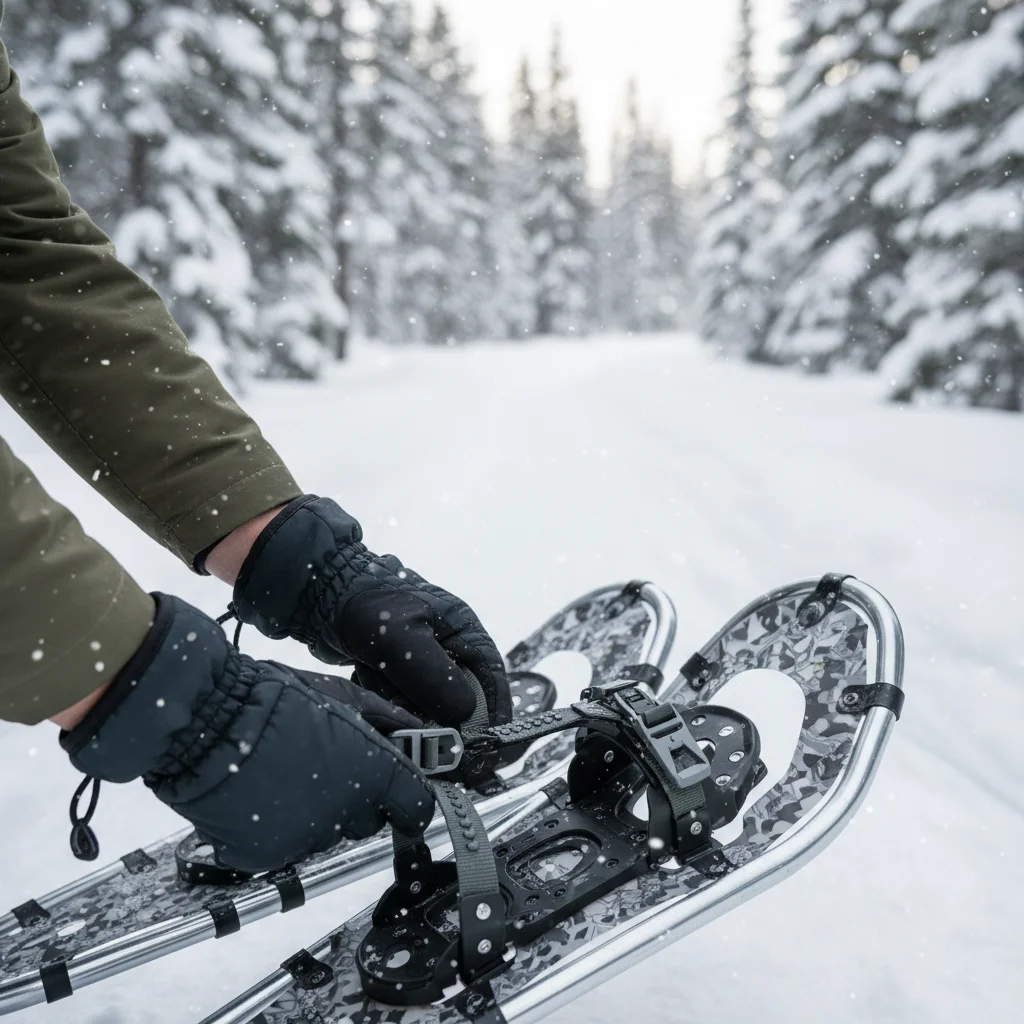
- Snowshoes: For deeper snow, snowshoes distribute your weight, allowing you to float on top of the snow instead of post-holing. They are essential for breaking trail in fresh powder.
- Crampons: Reserved for steep, icy, or mountaineering terrain, crampons offer the most aggressive traction. They require specific boots and practice to use safely.
Always assess the conditions before your hike and choose the appropriate traction. Carrying the wrong gear can make navigation incredibly difficult and unsafe. Practice putting on and taking off your traction devices at home to save time and frustration on the trail.
Layering for Optimal Warmth and Movement
Proper layering is more than just staying warm; it’s about managing your body temperature to prevent both overheating and getting too cold, which directly impacts your ability to navigate effectively. When you’re cold, your decision-making can be impaired, and fine motor skills needed for map reading or operating a GPS can diminish. The key is to wear multiple thin layers that can be added or removed as your activity level and the weather change.
Start with a moisture-wicking base layer to keep sweat away from your skin. Cotton is a definite no-go as it retains moisture and will make you cold. Next, add an insulating mid-layer, like fleece or down, to trap warmth. Your outer layer should be waterproof and windproof to protect against the elements. Don’t forget accessories: a warm hat, gloves or mittens, and a neck gaiter are crucial for retaining body heat. Being comfortable allows you to focus on the trail and your navigation, rather than shivering or sweating excessively.
Understanding Winter Weather Patterns
Winter weather is notoriously fickle and can change dramatically in a short period, directly impacting cold-weather trail navigation. A clear morning can quickly turn into a whiteout blizzard, making even familiar trails unrecognizable. Before any winter hike, thoroughly check multiple weather forecasts, paying close attention to temperature, wind chill, precipitation, and avalanche risk if in mountainous terrain. Understand that mountain weather can differ significantly from valley forecasts.
Learn to read the signs of changing weather while on the trail. A sudden drop in temperature, increasing winds, or darkening skies should be taken seriously. If conditions worsen rapidly, it’s often best to turn back, even if you haven’t reached your intended destination. Your safety and ability to navigate successfully depend on respecting winter’s power. Being aware and prepared for adverse conditions is a cornerstone of responsible winter adventuring.
Developing Emergency Preparedness Skills
Even with the best planning, emergencies can happen, and they are amplified in cold weather. Developing strong emergency preparedness skills is vital for cold-weather trail navigation. Always carry a well-stocked emergency kit that includes a first-aid kit, extra layers, a headlamp with spare batteries, a fire starter, an emergency shelter (like a bivy sack), and enough food and water. Communication devices, such as a satellite messenger or personal locator beacon (PLB), are highly recommended, especially in areas without cell service.
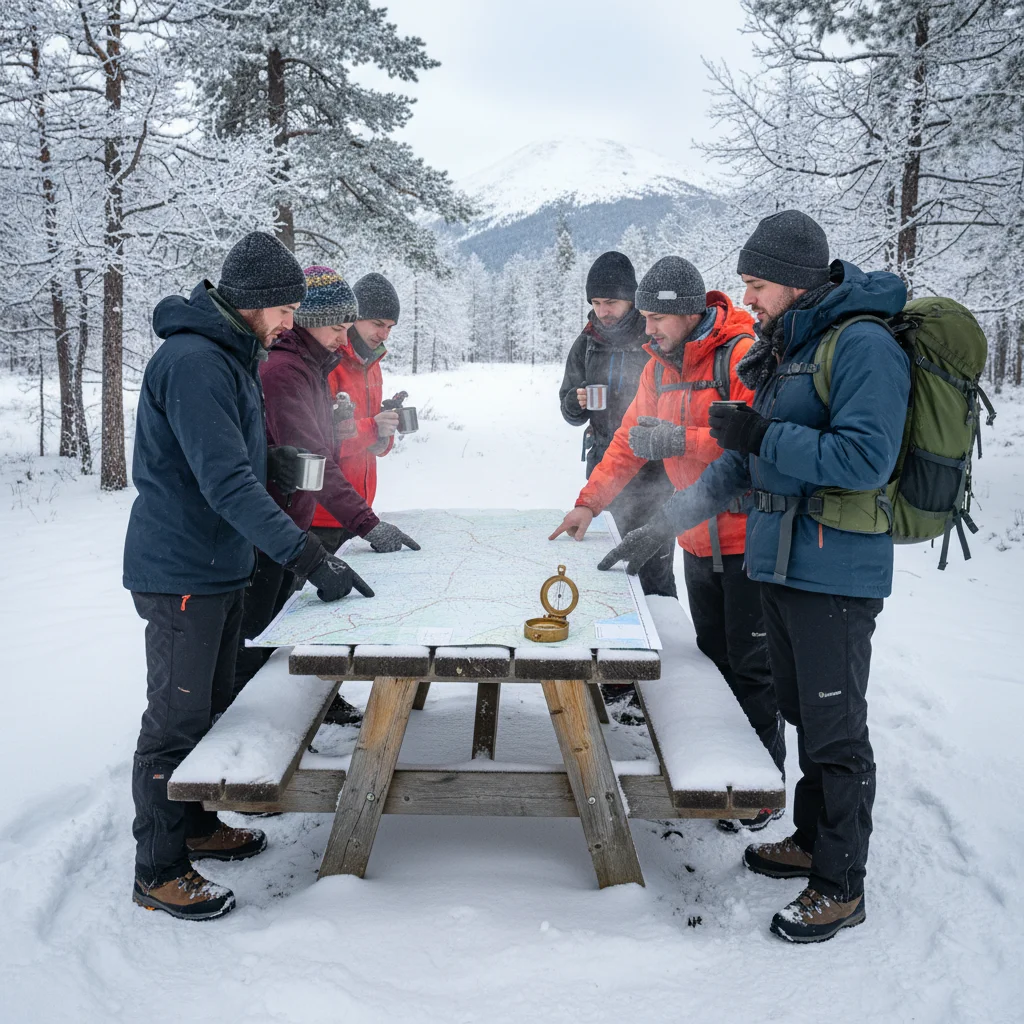
Knowing how to build a basic snow shelter or signal for help could be life-saving. Practice these skills in a controlled environment before you need them. Informing someone of your itinerary—where you’re going, your planned route, and when you expect to return—is a non-negotiable safety measure. In a winter emergency, every minute counts, and having the right skills and gear can make all the difference in a safe outcome.
Practicing Winter-Specific Trail Techniques
Cold-weather trail navigation involves more than just knowing where you are; it’s also about how you move through the winter environment. Learning winter-specific trail techniques can make your journey safer and more efficient. For instance, understanding how to read snow conditions is crucial. Fresh, light powder requires different movement than icy, hard-packed snow. Learning to identify potential avalanche terrain and how to safely traverse it (or avoid it entirely) is paramount in mountainous regions.
Additionally, practicing efficient stride and balance in snowshoes or microspikes can conserve energy, which is particularly important in cold weather where your body expends more effort to stay warm. Learning to recognize subtle changes in terrain that might indicate a hidden drop-off or stream can prevent accidents. Consider taking a winter skills course from a local outdoor organization. These courses provide hands-on experience and expert guidance, significantly boosting your confidence and competence for safe cold-weather trail navigation.
Frequently Asked Questions
What are the most crucial items for winter hiking navigation?
A reliable GPS device or smartphone with offline maps, a physical map and compass as backup, and a portable power bank are absolutely essential. Don’t forget warm, insulated clothing and appropriate traction for your footwear.
How can I keep my phone battery from dying in the cold?
Keep your phone close to your body, such as in an inner jacket pocket, to keep it warm. Use a fully charged portable power bank, also kept warm, to recharge as needed. Limit unnecessary screen time.
Is it safe to hike alone in winter?
While possible, hiking alone in winter significantly increases risks due to rapid weather changes and limited daylight. It’s generally safer to hike with a companion or group. Always inform someone of your detailed plans.
What should I do if I get lost during a winter hike?
Stay calm, stay put, and use your navigation tools to reorient yourself. If you have a satellite messenger or PLB, use it. If not, try to build a shelter and conserve energy while signaling for help.
How much water should I carry for a winter hike?
Even in cold weather, hydration is critical. Carry at least 2-3 liters of water, preferably in an insulated bottle to prevent freezing. Consider bringing a thermos with a warm drink.
Official Resources
- National Park Service: Winter Hiking Safety
- USDA Forest Service: Snow Safety
- The Mountaineers: How to Read a Map and Use a Compass
- Alpine Club of Canada: Avalanche Skills for Backcountry Users
Conclusion
Embracing the colder months for hiking opens up a world of unparalleled beauty and tranquility. By focusing on cold-weather trail navigation, you transform potential challenges into manageable adventures. The six solutions discussed—mastering digital tools, choosing proper footwear, layering effectively, understanding winter weather, developing emergency skills, and practicing winter-specific techniques—form a comprehensive approach to safe and enjoyable winter hiking. Each step builds confidence and competence, ensuring that you’re not just surviving, but thriving in the winter wilderness. Remember, preparation is your best companion when the temperatures drop and snow covers the trails. Don’t let the chill deter you; instead, equip yourself with knowledge and gear, and discover the serene magic that winter hiking offers. Start planning your next cold-weather excursion today, and experience the trails in a whole new light.
